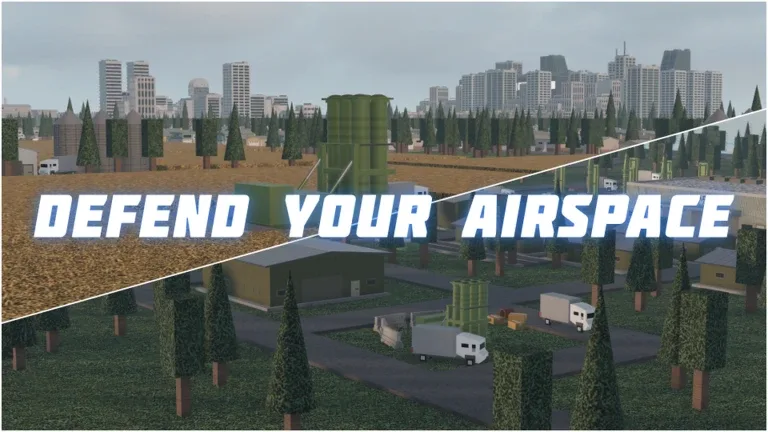
Build and Conquer Guide: Mastering Drone Defense Against C-RAM and Missiles
Learn how to effectively manage your defense in Build and Conquer on Roblox, focusing on countering drone swarms with C-RAM and missile systems.
Published: Build and Conquer Wiki Editorial Team
Table of Contents
Strategies for Defending Against Drone Swarms
In Build and Conquer on Roblox, players often face the challenge of overwhelming aerial incursions. Dealing with a massive swarm—such as 72 incoming drones—requires a shift from reactive shooting to systematic defense management. Because these drones can quickly saturate your airspace, you must utilize your C-RAM (Counter-Rocket, Artillery, and Mortar) and missile systems with precision rather than brute force.
The primary mistake many players make is attempting to manually target every single drone. Instead, focus on establishing "kill zones" where your automated defensive systems overlap. By positioning your C-RAM units at key defensive perimeters, you can create a curtain of fire that thins the swarm before it reaches your core infrastructure.
Optimizing Your C-RAM and Missile Loadout
Success in Build and Conquer relies heavily on how you distribute your defensive assets. When you are outnumbered, the type of weapon system you choose to activate is critical.
C-RAM Systems
Ideal for high-rate-of-fire defense against incoming projectiles and low-altitude drones. These should be your first line of defense for close-range saturation.
Missile Interceptors
Best used against high-altitude threats or fast-moving targets that have bypassed your initial C-RAM screen. Use these to pick off stragglers or specialized aerial units.
According to community reports, players find the most success when they don't over-rely on a single weapon type. Integrating a mix of rapid-fire cannons for the swarm and guided missiles for precision kills ensures that your system doesn't overheat or run dry during a sustained attack.
Tactical Execution: Managing the 72-Drone Scenario
When faced with a specific threat level like 72 drones, the gameplay rhythm changes. You are no longer just shooting; you are managing a resource-draining event.
Assess the Vector: Identify the primary flight path of the swarm. Don't waste ammunition on drones that are currently outside your optimal engagement range.
Stagger Your Fire: If your systems have cooling mechanics, avoid firing all at once. Use a staggered approach to keep the airspace covered continuously.
Prioritize Targets: If missiles are also incoming, prioritize those over drones. Missiles often pose a higher threat to your base’s integrity than standard drones.
Monitor Power/Ammo: Keep a close eye on your supply levels. A premature empty magazine in the middle of a 72-drone wave is almost always fatal to your base.
Advanced Defensive Considerations
Beyond basic shooting, map awareness is your greatest asset. In Build and Conquer, the terrain can often be used to mask your defensive positions or funnel enemy drones into a tighter formation, making them easier to target with area-of-effect weaponry.
Tip
Always check for "dead zones" in your coverage. If you notice drones consistently slipping through a specific corner of your base, that is where you need to relocate a C-RAM unit or add a redundant missile launcher.
Common Mistakes and How to Avoid Them
Even experienced players can fall into traps when the screen gets busy. One frequent error noted by the community is "panic firing." When 72 drones appear, the instinct is to click rapidly and move the camera erratically. This rarely results in hits and often leads to wasted ammunition.
Over-tracking: Moving your aim too quickly causes your system to lose lock-on. Maintain a steady, smooth tracking motion.
Ignoring Proximity: Many players focus on the lead drone and ignore the ones that have already circled behind their defenses. Check your peripheral vision frequently.
Resource Neglect: Failing to upgrade or repair your defensive structures between waves is a common cause of failure in later stages of the game.
[ ] Ensure all C-RAM units are reloaded before the next wave begins.
[ ] Verify that your missile guidance systems are calibrated for the current altitude of the drones.
[ ] Check base health and repair damaged structures immediately.
[ ] Review your weapon grouping to ensure maximum coverage density.
FAQ: Handling High-Intensity Waves
Should I use missiles for small, individual drones?
Generally, no. Missiles are a limited resource. Save them for larger targets or when the drone swarm is too dense for your C-RAM to handle effectively.
Why do my weapons stop firing during the wave?
This is likely due to either an empty magazine, system overheating, or a loss of target lock. Check your UI for heat warnings and ammunition counts.
Can I build more defenses during the attack?
While technically possible, it is highly inefficient. Always focus on your pre-built defensive network during active combat. Use the downtime between waves to expand your base.
For the latest updates and to join the community discussion, you can visit the official Build and Conquer Roblox page. Master your positioning, manage your resources, and you will be able to turn even the largest drone swarm into target practice.