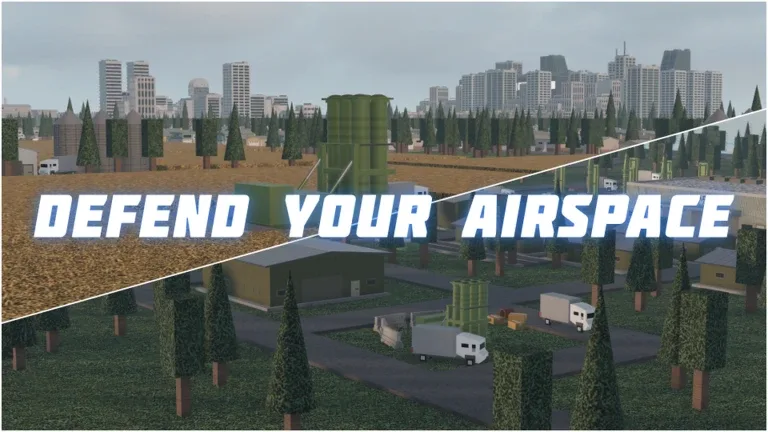
Build and Conquer: How to Master Building and Bombing Tactics
Learn effective strategies for Build and Conquer on Roblox. Master base construction, offensive bombing techniques, and defense to dominate the battlefield.
Published: Build and Conquer Wiki Editorial Team
Table of Contents
Mastering Combat and Strategy in Build and Conquer
In the fast-paced environment of Build and Conquer, success is defined by your ability to seamlessly transition between structural engineering and offensive warfare. Unlike traditional military shooters, this Roblox experience created by The Slop Company requires players to construct their own defensive positions while simultaneously calculating the trajectory needed for successful bombing runs.
To dominate the game, you must understand that your base is not just a shield; it is a platform for your weaponry. Players often fail by focusing too much on either building or attacking. The most successful strategies involve a hybrid approach where your defensive layout provides vantage points for your missiles and explosive projectiles.
Effective Base Construction Techniques
A strong base serves as the foundation for both your survival and your offensive potential. When starting your build, prioritize structural integrity and height. Higher positions give you a significant line-of-sight advantage, which is critical for landing successful bombing hits on rival structures.
Tip
Always build your primary offensive launchers on elevated platforms. This increases the range and visibility of your strikes, making it harder for opponents to predict your attack vector.
Common mistakes in construction include creating overly compact bases that are vulnerable to splash damage. If you cluster your critical components together, a single well-placed enemy bomb can dismantle your entire defensive capability. Spread your components out and use reinforcing blocks to mitigate structural collapse from nearby explosions.
Advanced Bombing and Offensive Tactics
Offensive play in Build and Conquer relies on understanding projectile physics. When you launch a missile or explosive device, you must account for distance and potential terrain obstructions. As noted in recent community observations, explosive impact creates massive structural displacement, which can be leveraged to weaken the enemy's structural load-bearing points.
Scouting: Observe enemy base layout to identify key structural weaknesses or exposed weapon platforms.
Calibration: Fire a test shot to gauge the distance, especially if your target is at a higher elevation.
Execution: Launch your main explosive payload. Aim for the base of their support structures to maximize the chance of a "collapse" rather than just surface damage.
Assessment: Immediately observe which parts of the target base were destroyed and adjust your angle for the follow-up strike.
Targeting the base of a tower or a central support pillar is generally more effective than firing at the upper walls. In many physics-based building games, the destruction of foundational blocks causes the entire structure above it to lose stability and crumble, effectively neutralizing the opponent with fewer resources.
Defensive Counter-Measures
Defending against incoming bombing runs requires active awareness. If you notice an opponent targeting your base, you have two primary options: aggressive intercept or structural hardening.
Structural Hardening: Add redundant layers of defense. Using multiple block types can help prevent a chain reaction of destruction.
Active Interception: If the game mechanics allow, attempt to destroy incoming projectiles before they hit your base by placing defensive turrets or obstacles.
Community reports suggest that players who proactively upgrade their defensive walls with higher durability materials often survive long enough to launch a counter-offensive. Do not rely solely on thick walls; use your building time to create "decoy" structures that draw fire away from your core assets.
Troubleshooting Common Issues
If you find that your explosives are not causing the expected damage, consider these factors:
Distance Calibration: You might be firing too short or overshooting. Adjust your camera angle slightly to compensate for arc-based trajectory.
Resource Management: Ensure you are not running low on materials. A lack of structural material can prevent your defenses from holding up during intense exchanges.
Platform Stability: Occasionally, base movement or poor placement can cause projectiles to clip or misfire. Ensure your launchers are placed on static, stable surfaces.
How can I improve my accuracy with long-range bombing?
Focus on consistent positioning. If you place your launcher in the exact same spot every time, you can learn the specific "arc" for different distances, which will drastically improve your accuracy over time.
What should I do if my base is constantly being destroyed?
Switch to a decentralized design. By separating your power, weapon, and utility blocks, you ensure that a single hit cannot disable your entire base at once.
Remember that Build and Conquer is a game of attrition. Even if you lose a few blocks, maintaining your offensive capability is key. Always keep at least one launcher functional so you can continue to apply pressure to your opponents while you repair your primary structures.